This section of the lab documentation describes the general configuration and use of the Web Tools Platform plugin for Eclipse to run applications on Tomcat or Pivotal tc Server. You will need to do this to run the course labs and samples.
The Servers view provided by the WTP plugin needs to be open, so that you can see the status of any existing servers. Verify that you can see the Servers view. The tab for this view will typically be at the bottom, either in the bottom-left hand corner or with other views such as Problems, Progress and Console. If the view is not open, open it now via the Window >> Show View >> Other ... >> Server >> Servers menu sequence.
Your workspace may already contain a pre-created entry for a Tomcat server instance, visible in the Servers view as 'Tomcat XX Server at localhost' where XX is the version number. If it does, skip ahead to Section H.3, “Starting & Deploying the Server”
Alternatively there may already be a tc Server instance in the Servers view, called something like 'Pivotal tc Server v3.x' or perhaps the older 'tc Server VMware vFabric tc Server V2.5 - V2.9'. Again, skip ahead to Section H.3, “Starting & Deploying the Server”
Otherwise, you will need to install a new server runtime.
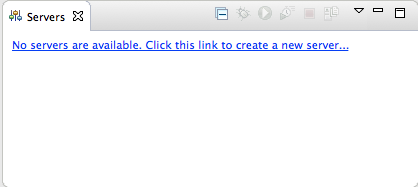
Since there are no servers at all, there is a link to click to create one. Click on that link now.
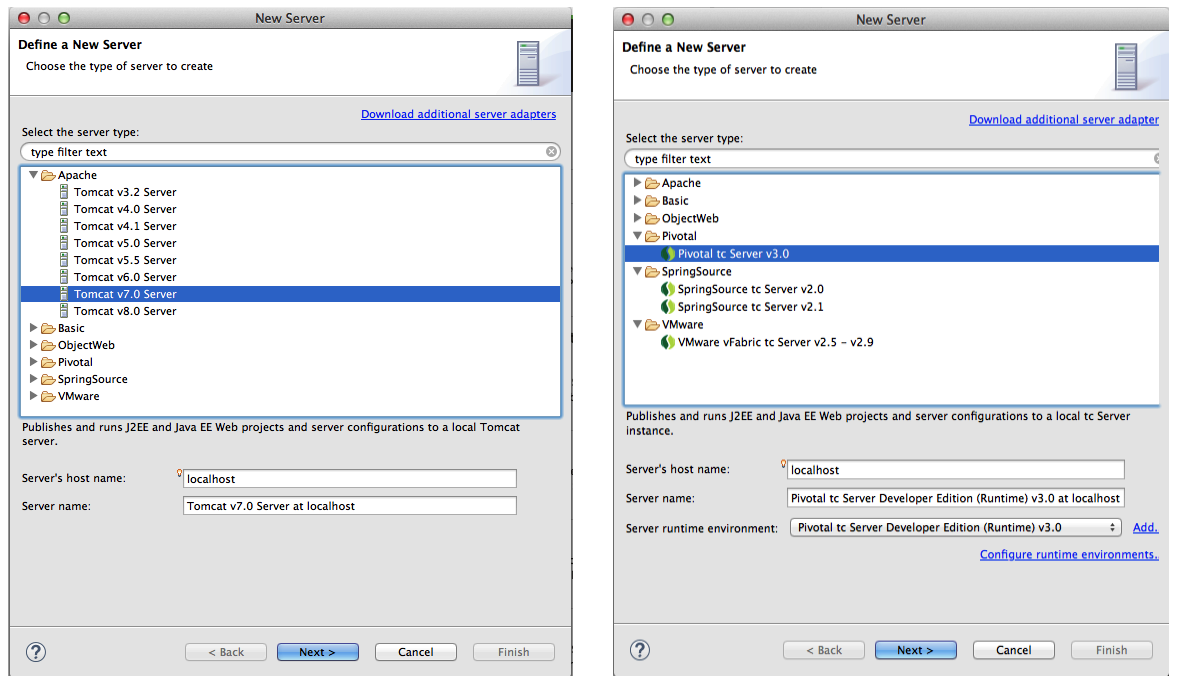
The popup that appears has a long list of server products - the first in the list is Apache (for Tomcat) or, if you have it, you could install tc Server (this will be in the list under Pivotal or VMware depending on what brand is current when you take this course).
![[Note]](images/note.png) |
Note |
|---|---|
| The 'New Server' dialog supports tc Server right back thru version 2.5 to 2.9, when it was VMware branded, back to early versions 2.0/2.1, when it was SpringSource branded. Choose 'Pivotal tc Server v3.x'' if available, or 'tc Server VMware vFabric tc Server 2.x' otherwise. |
Either Apache Tomcat 7 (or later) or tc Server 3.0 (or later) can be used. Check in the course installation folder/directory to see what is provided (You should find a Tomcat or tc Server sub-directory):
The default course installation folder is:
MS Windows: C:\<course-name>
MacOS: /Applications/<course-name>
Linux: /home/<user-name>/<course-name>
Pick the right server-type and follow the instructions to create a new server.
If Apache Tomcat is bundled with your course, perform the following steps. tc Server users, please skip to the next section
Select the Tomcat version you wish to use (you need at least
Tomcat 7 for Servlet 3 support). If you aren't sure, use the latest
version. If the Finish button is enabled,
click it and you should be done - skip the next step.
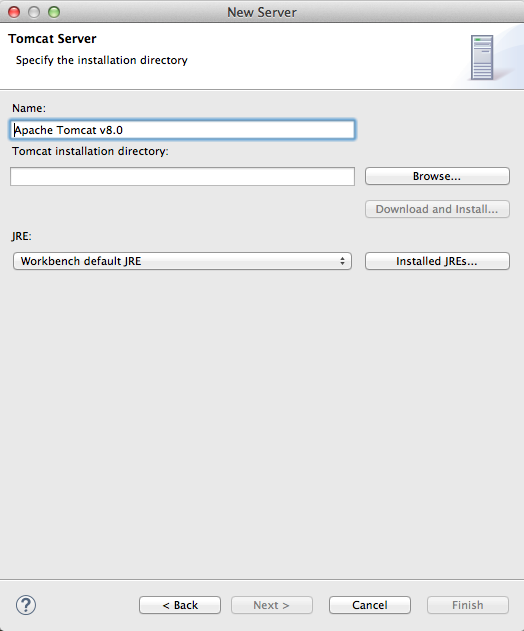
However if Finish is disabled, click
Next. You now need to tell STS where to
find a Tomcat installation, so you will see this dialog:
Tomcat should have been
installed with the rest of the lab materials. Click on the Browse... button and locate the Tomcat
installation. By default the file-explorer dialog opens in the
current workspace directory. Your tomcat installation should be in
an adjacent directory. Click Open to
select the Tomcat directory and, when you return to the 'New Server' dialog, click Finish.
Finally verify that a server runtime has appeared in the Servers view.
If you have not done this before, can't find Apache Tomcat or have any other problems, ask your instructor for help. Once this is setup, you won't have to do it again.
Skip to Section H.3, “Starting & Deploying the Server” below.
If Pivotal (or VMware) tc Server is bundled with your course, perform the following steps. Tomcat users, skip to Section H.3, “Starting & Deploying the Server” below.
Select the tc Server version you wish to use (the latest version
in the Pivotal group is preferred). Failing that, select 'tc Server VMware vFabric tc Server V2.5 -
V2.9' in the VMware group. If the Finish button is enabled, click it and you
should be done. Skip to the last of these steps.
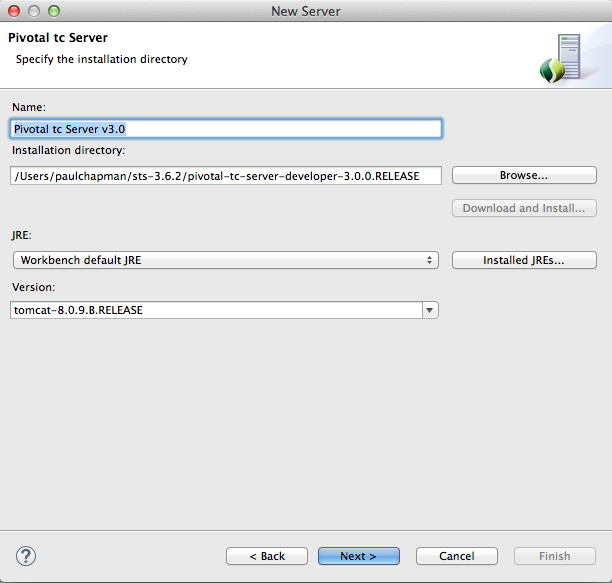
However if Finish is disabled, click
Next. You now need to tell STS where to
find a tc Server installation, so you will see this dialog:
tc Server should have
been installed with the rest of the lab materials. Click on the
Browse... button and locate the tc Server
installation. By default the file-explorer dialog opens in the
current workspace directory. Your tc Server installation should be
in an adjacent directory. Click Open to
select the Tomcat directory and, when you return to the 'New Server' dialog, you should
find the Version: field has been filled in automatically to show
the Tomcat version tc Server is using. Click Next.
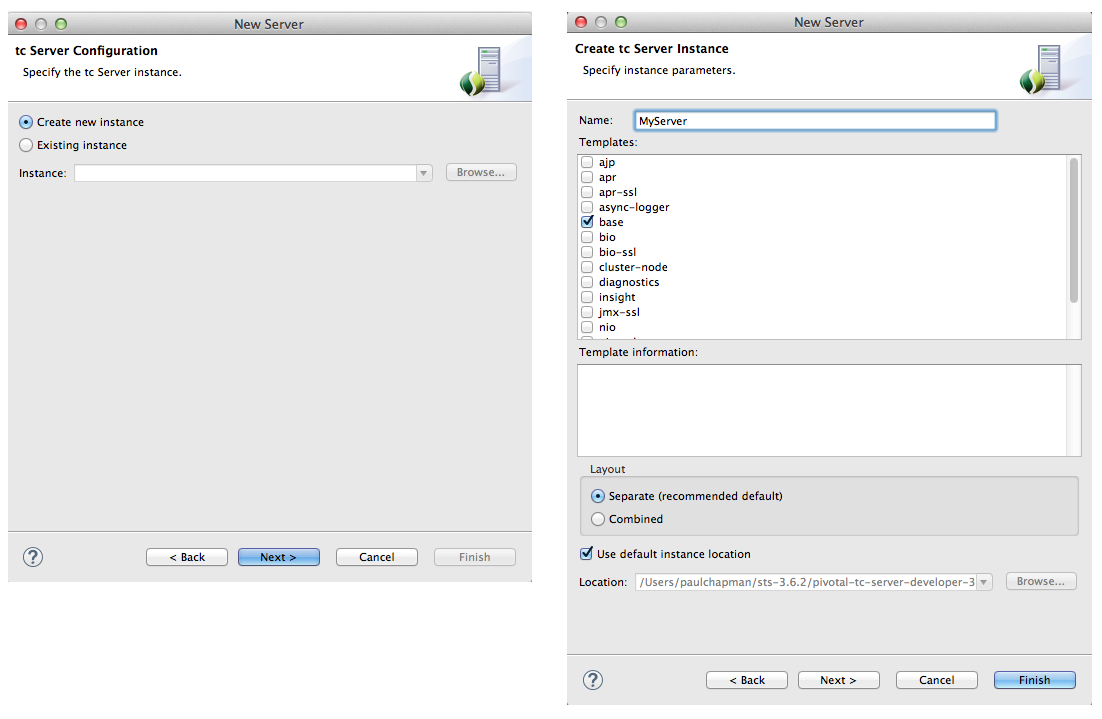
tc Server requires the instance to be created on disk as well as
in STS. In the next dialog (on left in diagram below), select
'Create new instance' and
click Next
In the next dialog (on right in diagram above), give the
instance a name (here we have used MyServer) and under templates select base. Retain the other defaults (Separate under Layout and Use default instance location).
Click Finish to create the server in
STS
Finally verify that a server runtime has appeared in the Servers view.
If you have not done this before, can't find tc Server or have any other problems, ask your instructor for help. Once this is setup, you won't have to do it again.
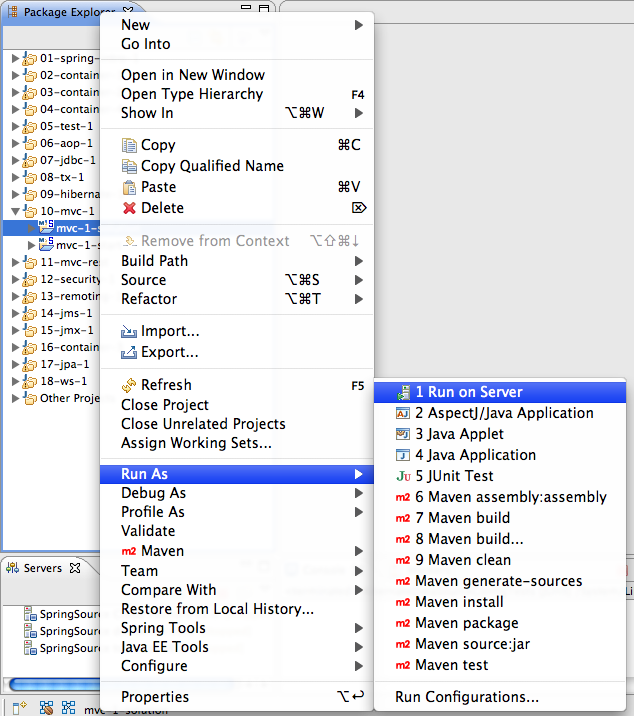
The easiest way to deploy and run an application using WTP is to right-click on the project and select 'Run As' then 'Run On Server'.
The console view should show status and log information as Tomcat starts up, including any exceptions due to project misconfiguration.
|
Note |
|---|---|
| Tomcat or tc Server will not fail to start even if your project fails to load. The server will run, but your application cannot be accessed because it is not running. |
After everything starts up, it should show as a deployed project under the server in the `Servers` tab.
![[Tip]](images/tip.png) |
Tip |
|---|---|
| Once you have deployed the first time, the server can be shut down (stopped by pressing the red box in the toolbar of the Servers tab. It can be started again using the green arrow button. |
|
Tip |
|---|---|
|
When you run the server as described above, you are running it against the project in-place (with no separate deployment step). Changes to JSP pages will not require a restart. Changes to Java code will force the server to restart automatically (may take a few seconds). However, changes to Spring Application Context definition files will require stopping and restarting the server manually for them to be picked up, since the application context is only loaded once at web app startup. |
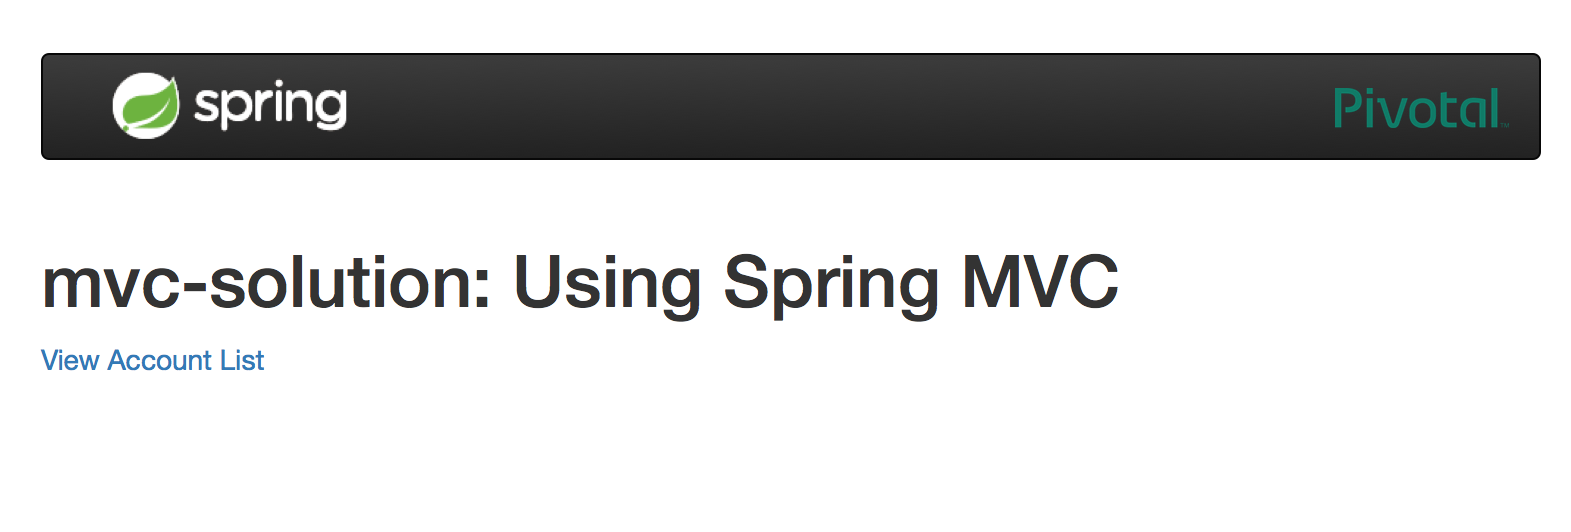
WTP will launch a browser window opened to the root of your application, making it easy to start testing the functionality. If you close it, you can get it back using the world icon in the STS main toolbar (you must be in the Spring Perspective). Alternatively, open the URL in an external browser (such Firefox or Chrome). You will need to use an external browser to access tools like Firebug or Web Developer.
|
Tip |
|---|---|
|
It is generally recommended that you only run one project at a time on a server. This will ensure that as you start or restart the server, you only see log messages in the console from the project you are actively working in. To remove projects that you are no longer working with from the server, right click on them under the server in the Servers view and select 'Remove'. |
|
Tip |
|---|---|
| If you use Run As >> Run On Server the first time for each new project you can unselect the old project at the same time. After that use the stop and start buttons in the Servers view. |
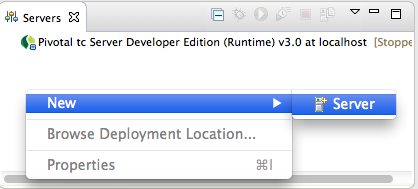
More servers can be added at any time. To do so, right-click in the blank area in the Servers View. There is a New option and, if you select it, Server is the only option.
This will popup the `New Server` dialog and you can continue as described in Section H.2.2, “Creating a New Server Instance” above.